Upcycled Furniture DIY: Easy Projects for Any Room
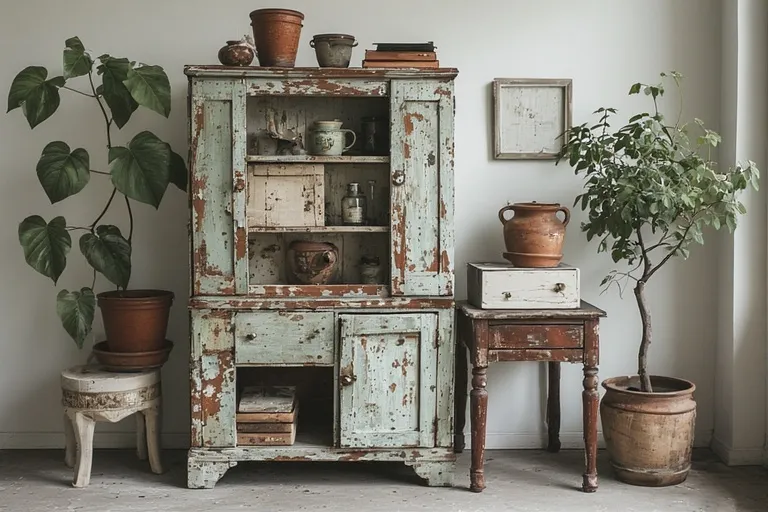
Upcycled furniture DIY projects are a creative and eco-friendly way to refresh your home while promoting sustainability. Perfect for homeowners looking to save money or repurpose old items, upcycling transforms worn-out or unused furniture into unique, stylish pieces that reflect personality and creativity. This approach not only adds charm to your space but also reduces waste, contributing to a greener, more sustainable lifestyle.
Why Upcycling Furniture Matters
Upcycling isn’t just a trendy hobby; it’s a lifestyle shift. Unlike recycling, which often breaks materials down, upcycling enhances and reuses existing items. This process helps reduce landfill waste, saves energy, and promotes conscious consumption. In a time where fast furniture and mass production dominate the market, upcycling encourages people to slow down, think creatively, and value craftsmanship. You have to see Reclaimed Wood Furniture
By transforming old furniture into something fresh and functional, you also add sentimental and historical value to each piece. Imagine turning your grandmother’s old dresser into a modern bathroom vanity or converting an unused wooden door into a chic dining table — it’s about creating a story behind every project.
Essential Tools and Materials for Upcycling Projects
Before you dive into your upcycling adventure, having the right tools and materials is crucial. While each project varies, here are some must-haves to get started:
Basic Tools
- Screwdrivers (flat and Phillips)
- Hammer and nails
- Measuring tape
- Paintbrushes and rollers
- Sandpaper (various grits)
- Electric sander (for smoother finishes)
- Glue gun and wood glue
Finishing Supplies
- Eco-friendly paints or chalk paint
- Wood stains and sealants
- Varnish or wax polish
- Decorative knobs, handles, or stencils
Optional Extras
- Fabric for reupholstery
- Spray paint for metallic finishes
- Adhesive wallpaper for decorative accents
Having a clean workspace with good ventilation also ensures safe and comfortable crafting conditions, especially when working with paints or sealants.
Creative Upcycled Furniture DIY Ideas to Try
The beauty of upcycling lies in endless creativity. You don’t have to be a professional carpenter — just a little imagination goes a long way! Here are some beginner-friendly yet stylish ideas to inspire your next project:
1. Old Dresser Turned Kitchen Island
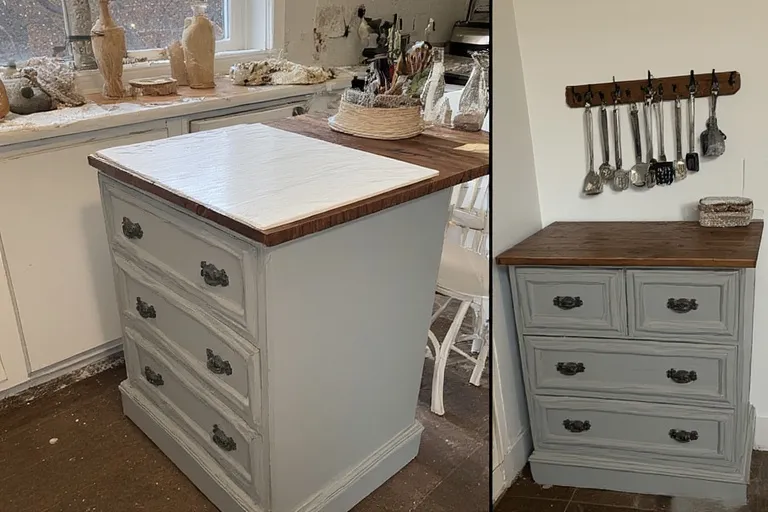
If you have an unused dresser, give it a new lease on life by transforming it into a portable kitchen island. Sand it down, apply a fresh coat of chalk paint, and attach hooks for utensils. You can even add a marble or butcher block top for a polished, high-end look.
2. Vintage Chair Makeover
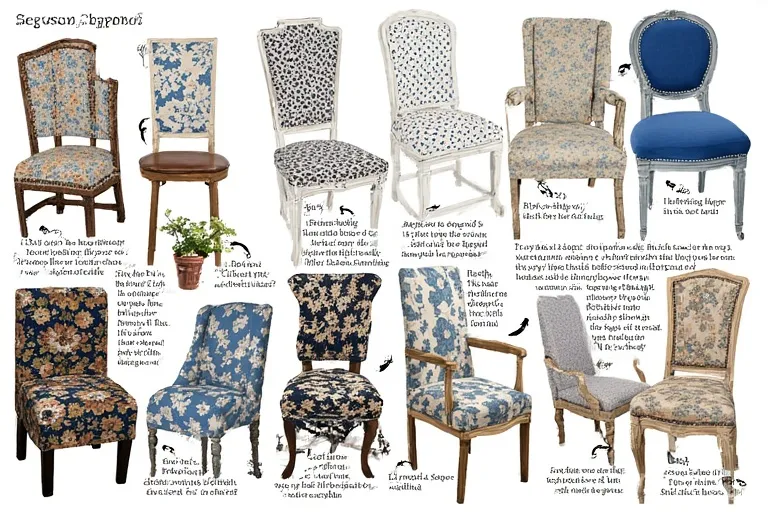
Instead of throwing away old chairs with worn-out upholstery, re-cover them with new fabric. Choose bold prints or soft neutrals depending on your home’s style. A quick coat of paint on the legs can completely refresh their look.
3. Wooden Pallet Coffee Table
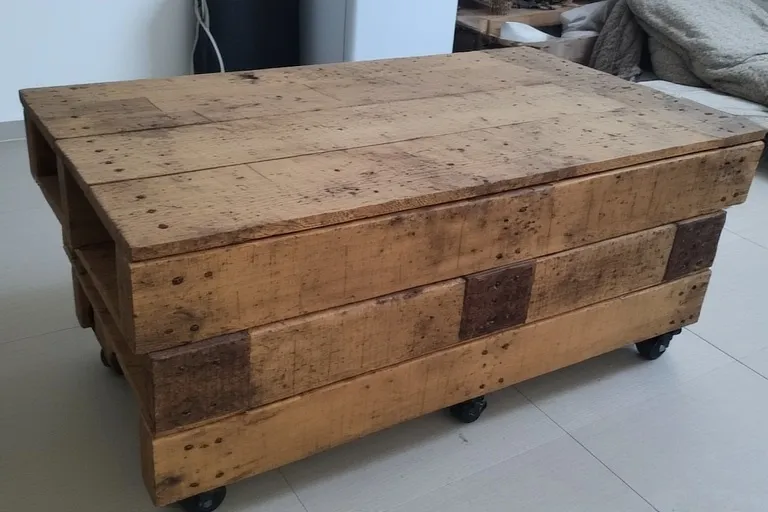
Wooden pallets are a staple in the upcycling world. With minimal effort, they can be turned into rustic coffee tables or storage benches. Simply stack, sand, and paint them to match your home’s décor. Add wheels for mobility and style.
4. Drawer Shelves
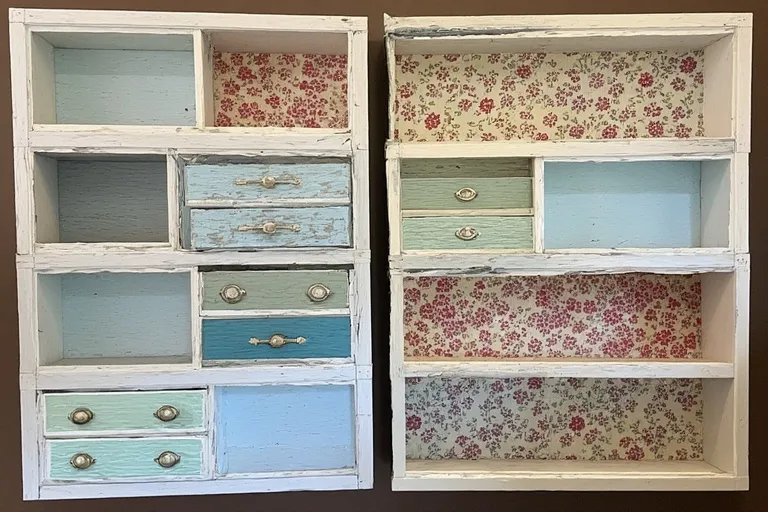
Got leftover drawers from a broken dresser? Mount them on the wall as shelves! This creates instant storage with a quirky, vintage touch. Paint the interiors in bright hues or line them with wallpaper for added flair.
5. Door Headboard
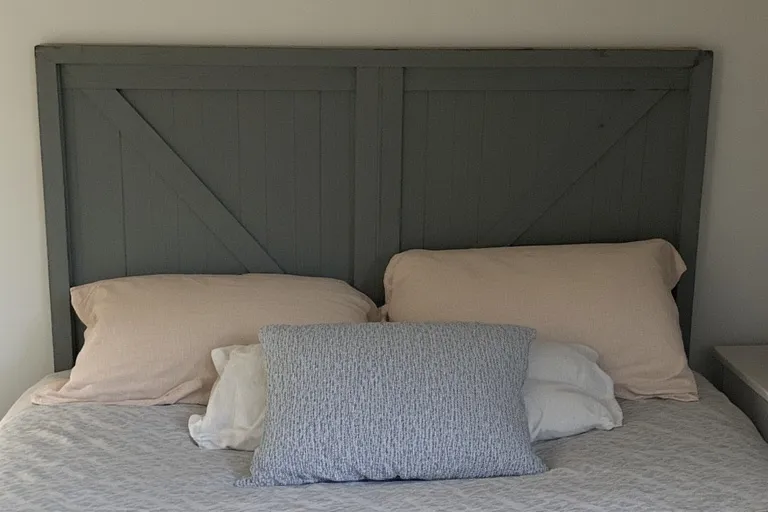
An old wooden door can make a statement as a bed headboard. Sand it down, paint it in soft tones, and mount it horizontally behind your bed for a cozy, farmhouse aesthetic.
6. Suitcase Side Table
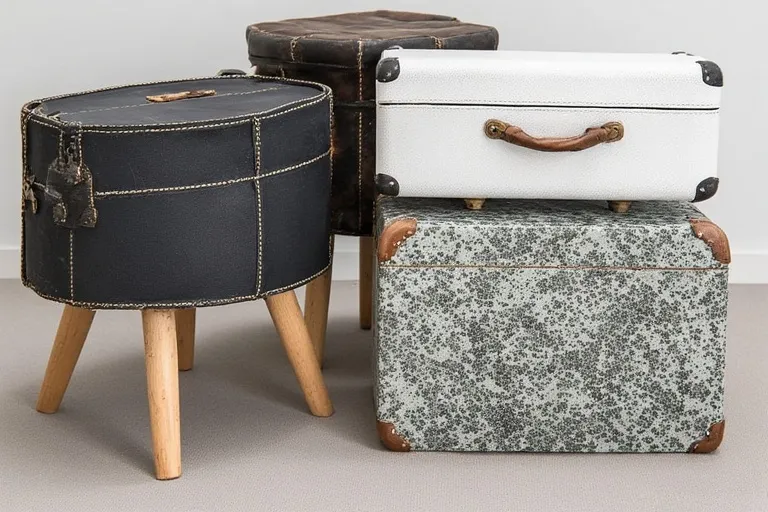
Vintage suitcases make excellent side tables when placed on short wooden legs. They’re not only visually appealing but also provide hidden storage space inside.
7. Bookshelf Bench
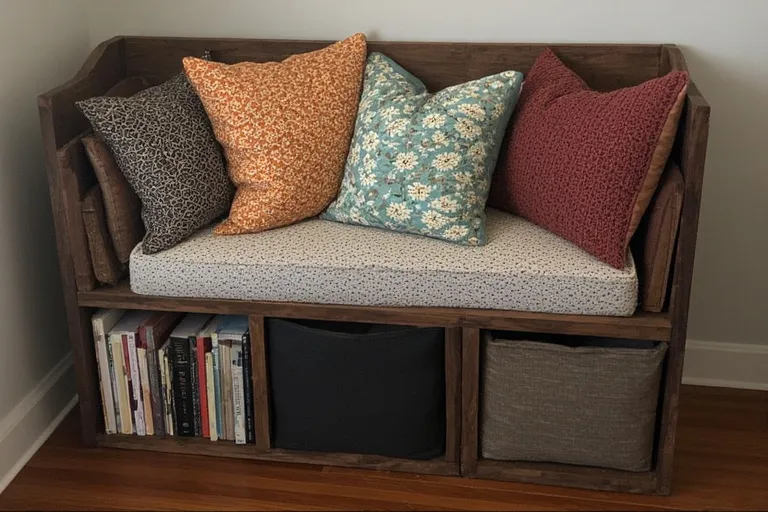
Stack or cut old bookshelves to create a bench with built-in storage underneath. Top it with a cushion and throw pillows for a cozy reading nook.
Step-by-Step Guide: How to Start an Upcycling Project
Upcycling may sound intimidating, but with a systematic approach, anyone can master it. Here’s a beginner-friendly process:
Step 1: Choose the Right Piece
Start small. Pick a simple item like a stool, chair, or coffee table. Avoid overly damaged or rotted wood that might compromise safety.
Step 2: Plan the Design
Visualize your final result. Browse Pinterest or Instagram for inspiration. Sketch your idea, choose your color palette, and plan materials in advance.
Step 3: Clean and Prep
Remove dust, dirt, and old paint from the surface. Use sandpaper to smooth rough areas. If the item has a glossy finish, sanding helps new paint adhere better.
Step 4: Repair and Reinforce
Fix wobbly legs, loose screws, or cracks. Use glue or screws where necessary to ensure stability and durability.
Step 5: Paint or Stain
Apply primer first, then your chosen paint or wood stain. Use thin coats for an even finish, allowing each layer to dry completely before adding another.
Step 6: Add Decorative Touches
This is where creativity shines! Add stencils, decoupage, metallic accents, or fabric elements. Even small details like new knobs can make a huge difference.
Step 7: Seal and Protect
Finish with varnish or wax to protect the surface from wear and tear. This ensures your hard work lasts for years.
Eco-Friendly Tips for Upcycling
Since upcycling is rooted in sustainability, it’s important to stay mindful of your environmental impact:
- Use low-VOC (volatile organic compound) paints to reduce toxic emissions.
- Repurpose materials you already own before buying new ones.
- Donate or sell leftover items instead of discarding them.
- Upcycle with durability in mind — quality over quantity always wins.
Common Mistakes to Avoid
Even seasoned upcyclers make mistakes. Here are a few to steer clear of:
- Skipping sanding – leads to uneven paint and poor adhesion.
- Using the wrong paint – not all paints work for every material.
- Ignoring measurements – always measure before cutting or drilling.
- Overloading with décor – simplicity often enhances the final look.
Patience is key. Upcycling takes time, but the end result is rewarding — both visually and emotionally.
The Joy of Creativity and Sustainability
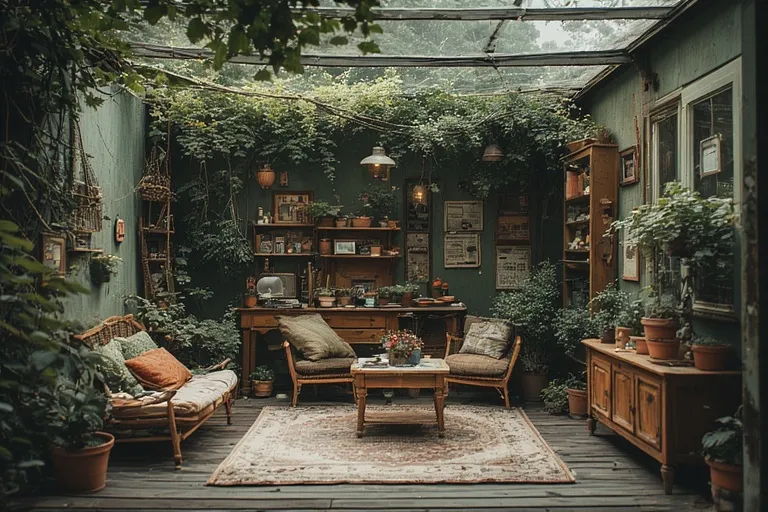
What makes upcycling special isn’t just the final product — it’s the process. Every brushstroke, every repair, and every transformation tells a story. Upcycling allows you to express your personality while caring for the environment. Whether you’re revamping a thrift store find or breathing new life into family furniture, each project reflects resourcefulness and creativity.
It also builds a sense of accomplishment. Instead of buying new furniture, you create something functional and meaningful from what you already have.
Conclusion
Upcycled furniture DIY is more than just a trend — it’s a sustainable, creative, and rewarding way to decorate your home. With a little effort, imagination, and care, you can turn forgotten pieces into one-of-a-kind treasures that showcase your personality and love for the planet. So, the next time you’re tempted to toss out old furniture, take a moment to imagine its potential — your next masterpiece might already be waiting in your attic or garage!
What is upcycled furniture DIY?
Transforming old or unused furniture into new, stylish pieces.
Why should I try upcycling furniture?
It saves money, reduces waste, and creates unique décor.
Do I need special tools for upcycling?
Basic tools like sandpaper, paint, and brushes are usually enough.
Can beginners do upcycled furniture projects?
Yes, simple projects are beginner-friendly and rewarding.
Is upcycled furniture durable?
When repaired and finished properly, upcycled furniture can last years.
One Comment